<- Back to Demo Lab

Salesforce Demo 1

Salesforce Lead Intake & Automation

A custom Next.js website integrates directly with Salesforce to support a practical lead intake process: form submission, secure API handling, Salesforce Lead creation, Flow routing, email notification, and task creation.

What this demo proves

  • Front-end form handling
  • Secure server-side Salesforce integration
  • Lead routing and queue assignment
  • Salesforce Flow automation
  • Email and task follow-up workflows

Workflow preview

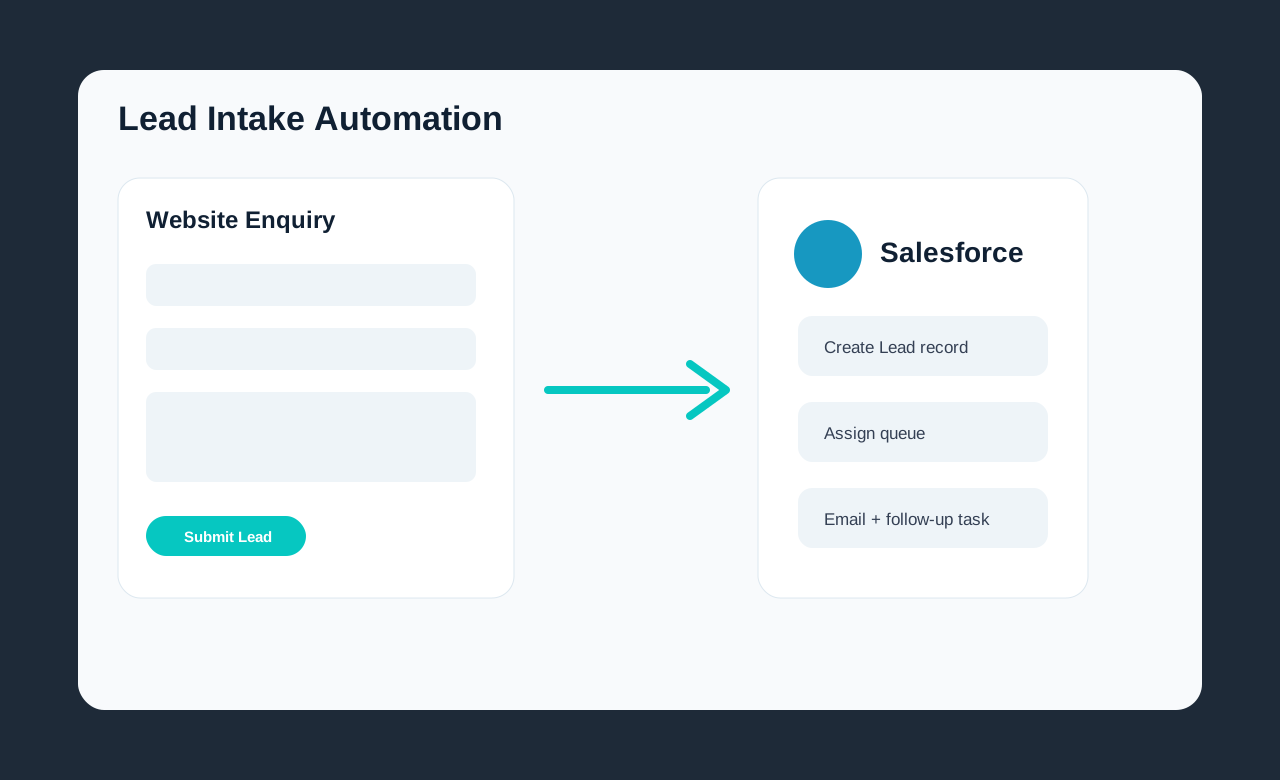
Website form to Salesforce automation

The visual flow shows the core architecture: a user-facing form submits through a server-side API route, then Salesforce handles the CRM follow-up process.

Salesforce lead intake workflow preview

Walkthrough Video

Watch the walkthrough showing the website form submission, Salesforce Lead creation, queue assignment, email notification, and task creation.

What Happens After Submit?

  • The user completes the lead form on the website.
  • The form submits to a secure Next.js API route.
  • The API authenticates with Salesforce using OAuth Client Credentials Flow.
  • A new Lead is created in Salesforce.
  • Salesforce Flow detects the new portfolio website Lead.
  • The Lead is assigned to the Website Lead Intake Queue.
  • An email notification is sent.
  • A follow-up Task is created on the Lead record.

Technologies Used

Next.jsReactSalesforce REST APIOAuth Client Credentials FlowSalesforce Lead ObjectSalesforce Flow BuilderCustom Lead FieldsLead Queue AssignmentEmail NotificationsSalesforce Tasks

Security Note

Salesforce credentials are never exposed in the browser. The demo submits to a server-side Next.js API route, which authenticates securely with Salesforce before creating the Lead record.